If you work with acrylic sheets—whether for custom retail displays, signage, point-of-sale fixtures, or architectural elements—you already know how finicky they can be. At Custom Displays, we’ve handled thousands of sheets over the years, and one truth stands out: the real headaches usually start long before the first cut. Poor storage turns premium material into warped, scratched, or “where-did-I-put-that” inventory faster than you can say “replacement order.”
We put together this straightforward handbook to tackle the three biggest storage pain points we hear about from fabricators, sign shops, and display makers: moisture damage, surface scratches, and chaotic inventory. Follow these practical steps and you’ll keep your acrylic looking pristine and your workflow running smoothly.
Moisture: The Silent Warper
Acrylic (PMMA) is hygroscopic—it loves to pull moisture out of the air. Even a few weeks in a humid warehouse can cause sheets to absorb water, leading to clouding, dimensional changes, or outright warping once you start cutting or thermoforming. We’ve seen entire pallets bow like banana peels after a rainy season.
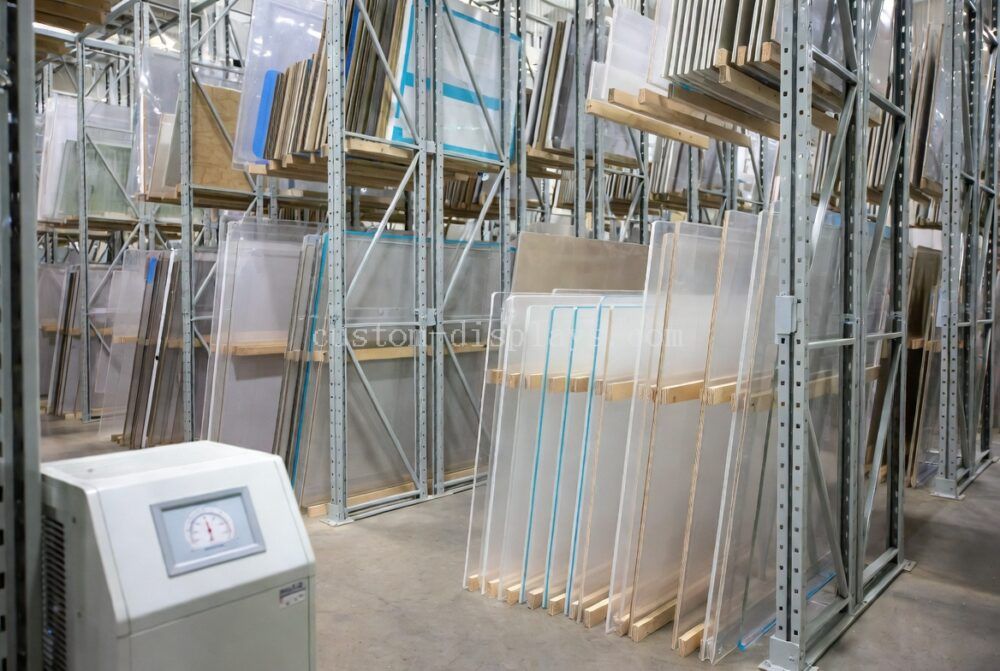
The fix starts with environment control. Aim for a stable temperature between 60°F and 80°F and relative humidity between 40% and 60%. A basic dehumidifier and a few cheap hygrometers placed around the storage area make a surprising difference. Keep sheets away from exterior walls where condensation loves to form.
Storage orientation matters too. Vertical racking at about a 10-degree lean, with full-height plywood or melamine backing, is our go-to method. It prevents sagging in the middle and lets air circulate. If you must store horizontally, use perfectly level platforms and limit stacks to four pallets maximum. Always slip a layer of breathable interleaving material (soft foam or pearl cotton) between sheets if you go this route.
One trick we swear by: leave the factory protective film or overwrap on as long as possible. It acts as a moisture barrier and keeps dust off. When humidity spikes, we also throw desiccant packs into sealed crates for extra insurance. Simple, low-cost, and incredibly effective.
Scratches: Protecting That Crystal-Clear Edge
Nothing kills a high-end display faster than a visible scratch running right down the middle of a crystal-clear panel. Acrylic’s surface is soft compared to glass, so it scratches easily during handling, sliding, or even from airborne grit.
The golden rule? Treat every sheet like it’s already part of a finished product. Keep the protective masking film on until the very last possible moment—right before final assembly if you can. When moving sheets, lift, don’t drag. Use suction cup lifters or padded carts with wide, soft wheels.
For stacking or racking, add soft separators. We like 1/8-inch foam sheets or felt pads cut to size. They cushion edges and prevent vibration scratches during transport. Keep the storage area clean and dry; sweep regularly and avoid cardboard or wooden pallets that shed fibers.
If a sheet does pick up minor surface dust, clean it gently with a microfiber cloth and approved acrylic cleaner—never household glass spray. A little prevention here saves hours of polishing later.
Classification and Coding: Stop the “Where Is It?” Scramble
Even perfectly stored material is useless if you can’t find the right size, thickness, or color when you need it. We’ve watched teams waste half an hour hunting through stacks because the last person didn’t label anything properly.
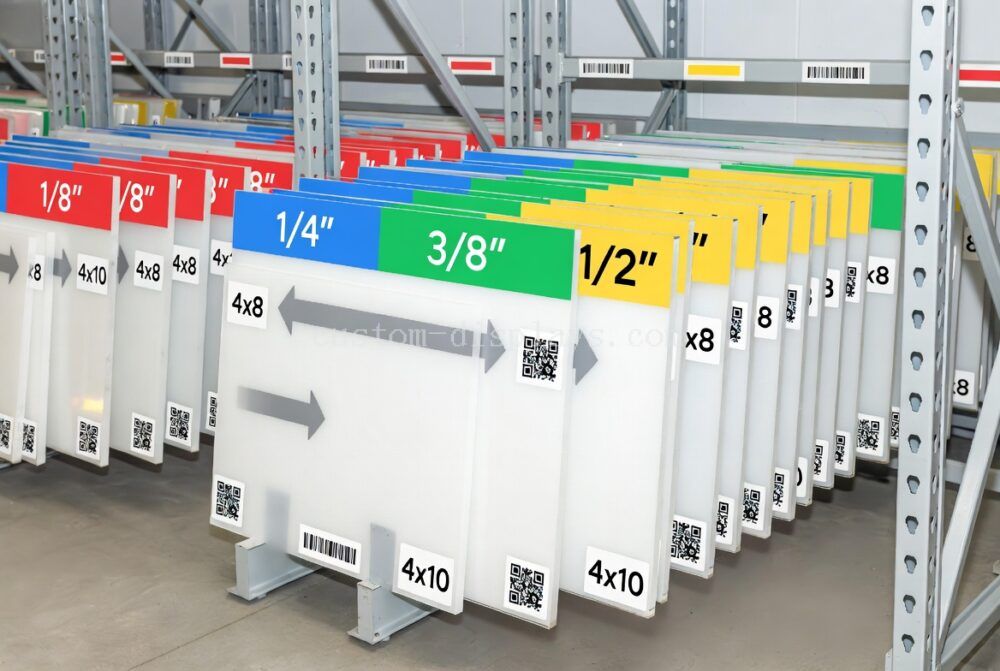
A smart classification system changes everything. Start simple: group sheets by thickness first (1/8″, 1/4″, 3/8″, 1/2″, etc.), then by color or finish (clear, tinted, mirrored, frosted). Use bold, color-coded labels on the rack edges—red for 1/4″ clear, blue for 1/2″ white, green for tinted. It sounds basic, but it lets anyone on the floor grab the right material at a glance.
Take it up a notch with barcodes or QR codes. Print durable vinyl stickers with your internal SKU that includes size, thickness, color, and batch date. Scan them into your inventory software and suddenly you know exactly how many 4×8 sheets of 3/8″ clear you have left. We also recommend FIFO (first-in, first-out) markings so older stock gets used before newer arrivals.
For larger operations, consider a simple digital dashboard or even just a laminated wall chart showing rack locations. The time you save searching pays for the labeling supplies in a single week.
Putting It All Together
Implementing these changes doesn’t require a million-dollar warehouse overhaul. Start with one section of your storage area: add vertical racks, install a dehumidifier, slap on color-coded labels, and keep the protective film on. Measure humidity for a couple of weeks and adjust. Within a month you’ll see fewer rejects, faster order fulfillment, and happier fabricators.
At Custom Displays we apply these exact principles every day to keep our own inventory ready for your next project. The result? Sharper edges, clearer panels, and displays that look as good in real life as they did on the screen.
Ready to upgrade your acrylic storage game? Drop us a note through the contact form at custom-displays.com. We’re happy to share rack layouts, label templates, or even chat about custom storage solutions tailored to your shop size. Your sheets—and your bottom line—will thank you.